I love pixie bonnets!! There, I said it.![]() I probably have 20+ styles of pixie bonnets and recently I’ve found myself contemplating buying gorgeous upcycled pixie bonnets that appear (and disappear) in a flash on Facebook. These things are HOT right now and it’s nearly impossible to buy one because everyone wants them. So, my little brain started cranking and I’ve figured out a way to make a NO-SEW upcycled pixie bonnet of my very own! Let me tell you, there is something exciting that happens mentally and emotionally when you make something of your own. I think I stared at my first newborn pixie hat creation for a good 30 minutes marveling in my ability to create something I love out of something I didn’t (my old shrunken sweater). And the best part is that I’m going to show YOU how to make your own too!
I probably have 20+ styles of pixie bonnets and recently I’ve found myself contemplating buying gorgeous upcycled pixie bonnets that appear (and disappear) in a flash on Facebook. These things are HOT right now and it’s nearly impossible to buy one because everyone wants them. So, my little brain started cranking and I’ve figured out a way to make a NO-SEW upcycled pixie bonnet of my very own! Let me tell you, there is something exciting that happens mentally and emotionally when you make something of your own. I think I stared at my first newborn pixie hat creation for a good 30 minutes marveling in my ability to create something I love out of something I didn’t (my old shrunken sweater). And the best part is that I’m going to show YOU how to make your own too!![]()
Here we go!
![]()
You’re going to need these supplies for your pixiel bonnet:
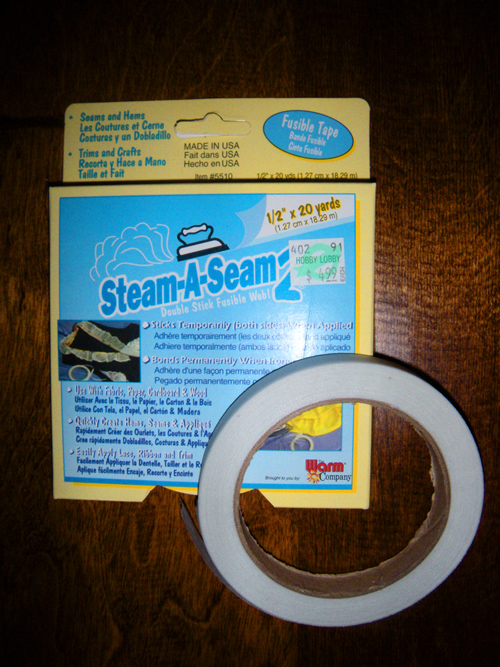
1. Steam-a-Seam2 Double Stick Fusible web tape (I bought mine at Hobby Lobby)
2. Iron
3. Fabric scissors
4. Ruler
5. Pen and Paper (one piece of white printer paper)
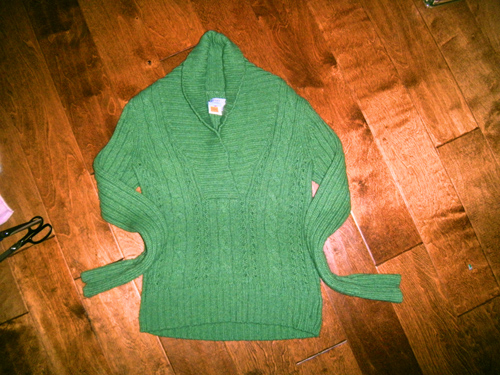
6. Old Knit Sweater (choose one that has stretch, in the desired color you want for your pixie hat)
Here you can see that the Steam-a-Seam looks like a roll of tape. It has a backing you peel off and it’s sticky on both sides to bind to pieces of fabric together to create a seam. Genius I tell ya!

Instructions:
1. First, lay your old sweater flat and find the seams at the bottom. (The seams run down the right and left side of the sweater.)

2. Next, on your white sheet of paper, draw out the pattern shown below. You are going to make a square 6 inches by 7 inches, and on the side that is 7 inches you’ll draw an upward swoop to make the pixie point at the top of the hat. (my cat was there to inspect my pixie pattern to ensure accuracy… haha)

3. Next, line up your paper pattern so that it lines up with the bottom left of your sweater. Make sure your pixie point swoop is positioned as shown below. Feel free to grab your closest pet to stand on your sweater as you work…![]()

4. Cut out your pixie hat from the pattern. Be sure not to cut along the fold or garment edge.

5. Now open your pixie hat and lay it down, pretty side up (the side you want on the outside of your pixiel bonnet)
Tear off small pieces of your steam-a-seam and lay it along the swoop side of your hat (this is also the back side of your bonnet):

Be sure the tape is near the edge of the fabric and fold your pixie hat in half with tape inside (hat now looks inside out):

6. Take your iron and press down on the pixie hat on the side with the steam-a-seam tape. Hold the iron down for 10 seconds at a time. Lift. Repeat. This is melting the tape onto the fabric.

When you’re done ironing, it should look something like this: (lighter side is from the iron where the tape is melted between the back side of the hat):

7. Let your hat cool off and then carefully turn your hat inside out again (if your hat starts to come apart, carefully put the tape back in place and put your iron back on for 10 more seconds)

8. You now have a pixie bonnet! But wait, you need tassels. You could add ribbon, chiffon, or cut strips of fabric from your sweater to make them:

9. I went back to my original cut-up sweater and cut out 6 inch long strips of fabric for each tassel:

10. To attach them to your pixie bonnet, tear off 2 small pieces of your Seam-a-Steam and secure each tassel to the inside bottom corner of each side of your bonnet and iron for 10 seconds to melt the tape:


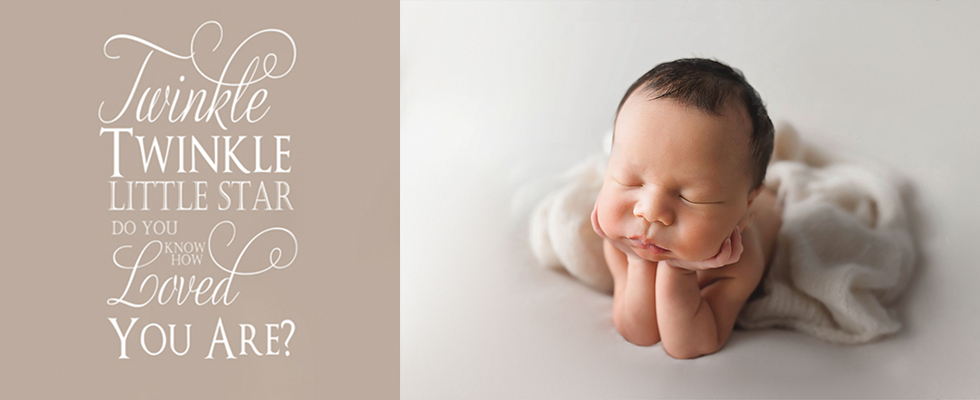
aaaand you’re done!! Here is my hat modeled on a sweet baby!


Show Hide 12 comments
LOVE thank you for sharing!
Great idea-so much easier than knitting one !
Thank-you so much for sharing this tutorial. I found it through pinterest I made three hats out of old sweaters today using stitch witchery and they turned out great!
Your tutorial was great! Thanks to you, I just made my first upcycled hat. It was so easy I managed to complete it while I nursed my baby to sleep.
best tutorial ever!! Not sure if I have any sweaters I can upcycle, but I think tomorrow warrants a trip to the second hand store!! Thank you!
So very clever, I am hoping to make a few cute little bonnets so this will be perfect!! Will have to hit the op shops and find a few nice knitted coats now!! Thanks so much for sharing this and for the inspiration!! : )
This is a totally cute idea… I want to make one but wonder if you had problems with the raw edge unravelling? Or what you did to prevent it?
Thank you! I will be trying this out! Wonderful idea!
So darling!!! I found you on Pinterest-thank-you for sharing this tutorial!!
AMAZING! THANK YOU! THIS IS GONNA SAVE ME TONS OF MONEY! IM GONNA HOT GLUE THOUGH!
Thank you so much for sharing! I can go to town with all my old sweaters I could not part with
I know what I’m doing with my good will find today.